
Please welcome Emily back to the blog with a great tutorial for lengthening the FREE Woodstock Swing Tee into a dress using two different methods. The comparison is a great way to help you decide what look you’re going for so you can lengthen it accordingly!
Hi! I’m delighted to be posting on Adrianna’s blog today about the Woodstock Swing Tee Dress Experiment!
A few months ago one of Ansley’s friends (who is also one of my piano students) had a birthday and her mom mentioned she liked swing dresses. I remembered I had printed the Woodstock Swing Tee the summer before and hadn’t sewn it and thought it would make a great base for a swing dress. I decided to add length to the dress in the middle of the dress and ended up with this beauty: (I got permission to take and share these pics. Ansley’s friend is a bit smaller than Ansley)

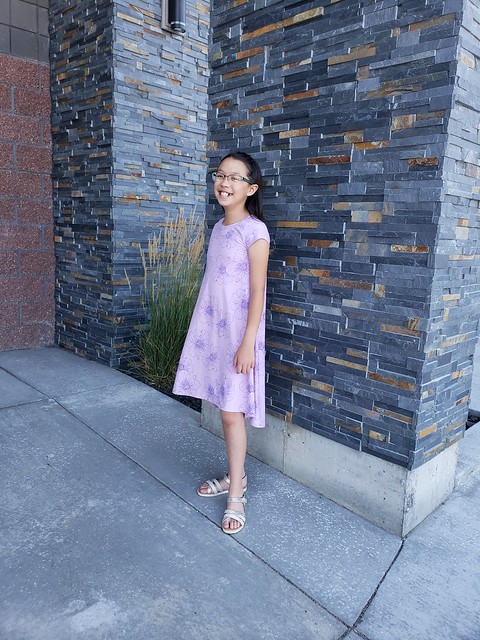
I just love seeing Ansley’s friend wear this dress!
After sewing this purple dress I wondered if there was a better method for lengthening the Woodstock Swing Tee and decided to experiment by sewing two different dresses lengthened two different ways using the same fabric. The two different methods of lengthening that I compared were adding length from the original tee’s hemline and adding length through the middle/torso of the tee and maintaining the original hemline.
I used two performance fabrics from Joann that are both 86% polyester 14% spandex. (this one and this one which is actually about 56 inches wide, not 31 inches) Both fabrics were prewashed and dried on extra low heat. (I usually line dry but didn’t want how the fabric was hung on the dryer rack to be a factor. (My dryer rack is not large enough for a 2 yard cut of fabric to lay completely flat haha.) I let Ansley pick which fabric she wanted to use for each pattern variation. She chose to use the blue fabric for the dress that was lengthened from the hem of the shirt and the black fabric for the dress with length added in the middle.
I started by printing two size 14 tees. Her chest measurement is closer to a 12 but I have sewn previous patterns in performance fabric and they have sometimes turned out a little bit smaller than I expected, plus being between sizes it’s safer to size up. Holding the front piece up to her body we decided to add 13 or 14 inches to the hem of the tee. (wannabe fashionista note- I feel like a swing dress should be about knee length or maxi to be flattering. I love how the Woodstock Swing Tee is fitted near the top so the whole dress doesn’t look like a tent; it looks intentional. However it is nice to be visually balanced with a close to knee length hem or dramatic like a maxi) I ended up splitting the difference and added 13.5 inches to the tee. The Woodstock Swing Tee pattern states that the hips and waist are free. Since she has a pretty straight figure I did not worry about grading for waist or hips.
Method 1- adding length from the original hem, the blue dress
I taped a piece of freezer paper to the original tee pattern piece.
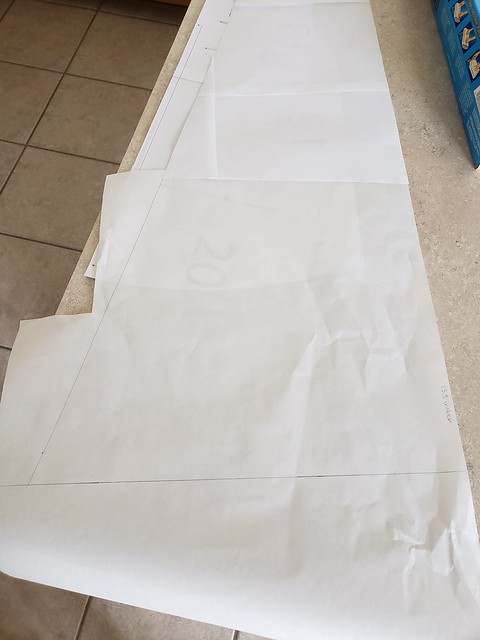
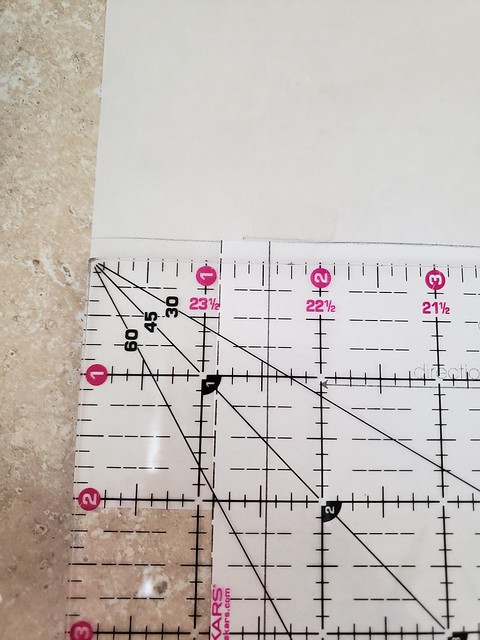
I measured 13.5 inches down from the hem at the fold line.

I also measured 13.5 inches down from the hem in various places along the original hem and continuing the straight line from the original side hem. I made several little tick marks and then connected the dots. (please disregard the straight line in this pic. The hem should not be a straight line, which I discovered as I was marking 13.5 inches in various places below the original tee’s hem).

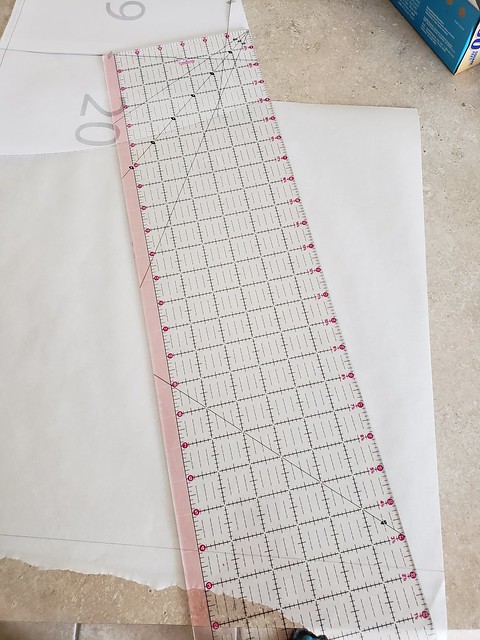
Repeat for the other bodice pattern piece. This image shows how I kept the same angle from the tee and lengthened the side hem in a straight line.
And the results of Method 1- a swing dress that has a bit of swish and spin at the bottom but isn’t entirely overwhelming.
(I’m sorry these pics don’t have the dress hemmed. I ran out of daylight and even though it was freezing and windy when we took these pics the temps dropped close to zero the next few days. I did give them a half inch hem after taking these pics).


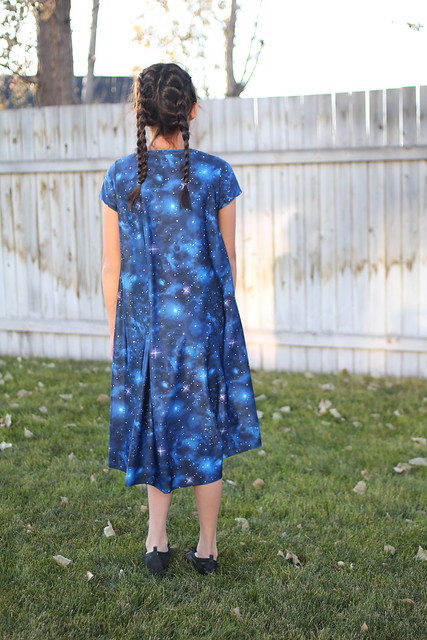


Method 2- adding length through the middle, the black dress
I already knew this method would work since I used it on the purple dress that inspired this experiment. However I hadn’t compared both methods in Ansley’s size on her body.
I held up the front pattern piece to her body and marked her approximate waist. I measured up about an inch (why an inch? Because that seemed like a good place to add a lengthen/shorten line but I’m not really sure if that’s the correct way haha) from this spot and cut the pattern in half. I transferred the cut line from the front pattern piece to the back pattern piece and cut it in half also.


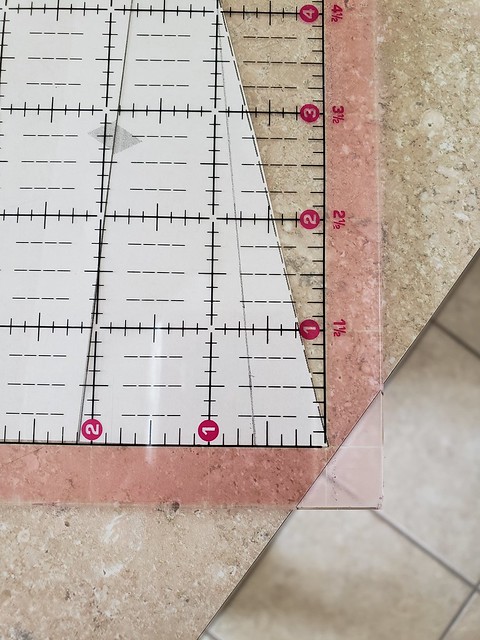
I taped the top part of the pattern to freezer paper. I laid the bottom part of the pattern on the freezer paper 13.5 inches below the top part. You may notice the edges of the top and the bottom don’t really match up that well.

Using my ruler, I laid it down on the top and rested it where a best fit line would be. I started a little below the armscye because I didn’t want to take any off the front/was hoping not to mess with the armscye.

This best fit line meant my bottom piece moved a little out from the fold line.
And the bottom side piece ended up being less wide.
I also found I needed to add a tiny bit to the top armscye. (note- this meant that my top sleeve notch was actually about 3/16 inches behind the front/back shoulder seam).

Repeat on the back pattern piece. (I did shave about 1/8 inches off the armscye in the back. I knew I could take a little away here since I added a little in the front.) (not pictured since it’s the same as the front pattern piece).
The results of Method 2- a slightly swingy and a little more serious and elegant swing dress.

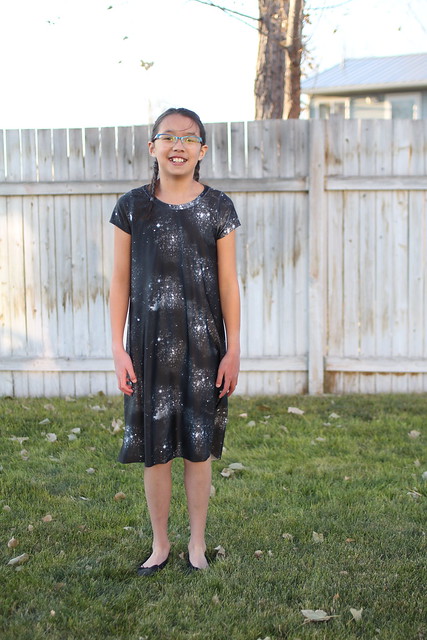


So which method is the best for a swing dress? It depends on the look you’re going for. Both methods worked equally well! The blue has more swing, as you can see in this pic (see, I did hem them lol)…
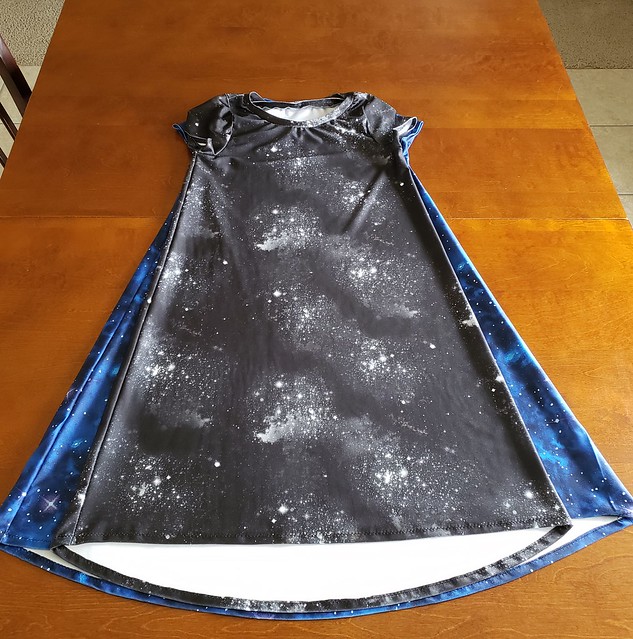
but the black still has a fun silhouette too. I did find it was easier to alter the pattern pieces in Method 1 (the blue dress) because I didn’t have to add scraps of freezer paper here and there to make a solid pattern piece and didn’t have to do any blending. Ansley has only worn the blue dress in real life since I finished these a few days ago but it’s not really dress weather. I think we are both also partial to the color blue haha.
If you’re looking for more fun ways to switch up a tee, check out the series Adrianna did using the City Park Tee. They are so fun!
As always, it’s been a delight to be here! Thanks Adrianna!
Thank you so much for this thorough tutorial, Emily! I love the comparison between the two methods!
Oh, that’s interesting! Thanks for sharing this project. Once the weather warms up you’ll have to give us an update on which one she likes best!
This is so cool! Totally wish I had this pattern for me as an adult. But my girls will love this. Thank you.